Chimney Systems
Straight Single Story Chimneys
What is it?
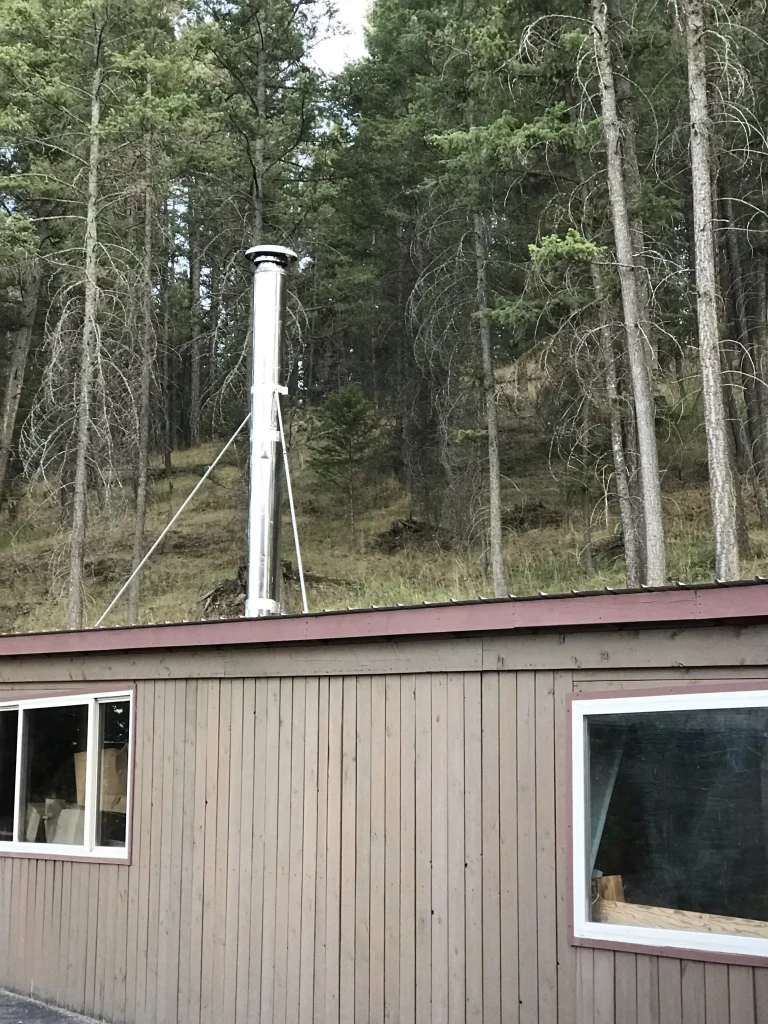
A simple Class A chimney installation in a single story home where the heating appliance sits below the chimney, and the chimney passes through the ceiling and roof.
Pros and Cons
How Difficult is Installation?
Moderate. Approximately 8-10 hours for users with little experience, 4-6 hours for users with advanced construction knowledge.

Other Considerations
When installing Class A chimney pipe in a single story home, you need to consider the ceiling height. Is your ceiling flat, is there an attic above it, or is it a sloped ceiling with dead air space above? What is the height from where the appliance and chimney will be installed to the ceiling?
The next aspect to consider is the pitch of your roof. The pitch is inches of rise per 12″ of run. For example: For every 12″ of horizontal, how many inches vertical? The most common roof pitch in North America is 6/12, which can be walked on easily. An 8/12 pitch is much more difficult to walk on, while a 12/12 pitch requires special equipment.
You will also need to take into account framing dimensions. What is the structure framed with? Are the rafters 2×4, 2×6, 2×8, 2×10, 2×12, or are you using trusses? Generally, roof rafters or trusses are installed vertically and rest on the sill plate of the exterior wall, reaching up at an angle where they meet their twin at the ridge. These are generally spaced 12″, 16″, 24″, or 36″ on center. What is your rafter spacing?
Offsets are important too. Sometimes, your framing just doesn’t line up in a way that allows you to get a straight shot up and out the roof without having a rafter or other structure member in the way. In many cases, you can simply cut out the obstacle and re-frame using bridging. Other times, the structure member is critical and cannot be removed, in which case you will need an offset. Offsets allow you to zig when you have a zag; in other words, you can go around the obstacle. A simple Plumb Bob will help you find the offset measurements.
Rules for offsets: You can only use 15 and 30 degree elbows with Class A chimney systems. The stove pipe can use 90, 45, 30, or 15 degree elbows in double wall stove pipe. Restricting the smoke path in any way will hinder the draft and create creosote buildup. With that in mind, try to use two 45 degree or three 30 degree elbows to create a sweeping effect in your offset. Avoid using 90 degree angles if possible, and do your offsets below the ceiling as it saves money, is easier to install, and doesn’t require additional support. If your offset is above any structural pass-through, such as a floor or ceiling, you must use a Class A chimney to prevent a fire from the radiant heat transfer. You must also properly support the Class A chimney in a single story space from above the offset to prevent chimney separation, which results in hazardous conditions.
Roof design. Most homes have “gable roofs” which look triangular in shape. Some roofs use hips instead of gables, making them “hip roofs”. Barn-style roofs are called “gambrels”. There are other styles as well, but these are the most common.
Your attic space matters, as well. Sometimes you will pass through an attic space as you extend the chimney out through the roof. Is there access to get into this space? If so, measure the area where the Class A chimney will pass through.
Finally, what is your roofing material? Most structures have shingled roofs. Shingles are easy to work with, especially when it comes to cutting a hole in them for fitting the roof flashing on (flashing prevents leaks). Some roofs are metal, and many people are afraid to cut a hole in a metal roof and properly flash it so it doesn’t leak. It’s actually easy than it looks, and a much better option than going up the side of your structure. We hope to have a video demonstrating this process soon, so keep checking this page to find that. Other roofs have slate or tile, and in those cases you will need special roof flashings that we highly recommend a professional install for you.
One final note: Pay careful attention to where your Class A chimney will penetrate the roof. If your roof has a valley near where you plan to put a chimney, we recommend finding another location. Valleys often cause leaking and are rarely worth the trouble to install a chimney around. Dormers are another issue to watch out for: You must be two feet higher than anything within 10′ of your Class A chimney, so please keep that in mind.